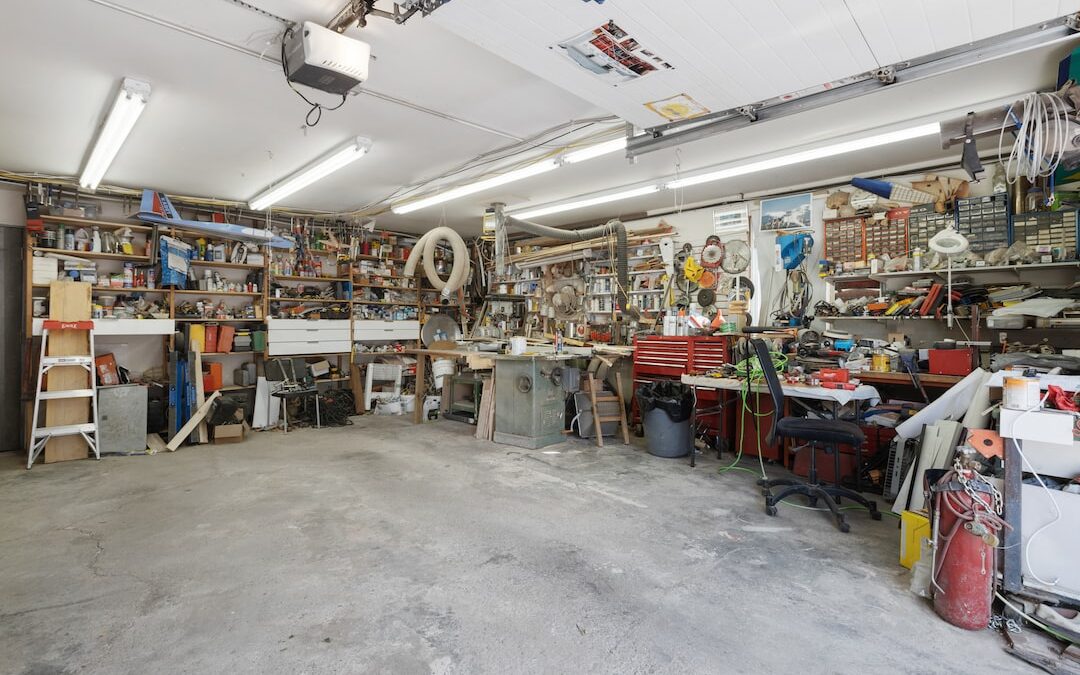
The garage is an important part of the home, serving as a place to safely store our vehicles, lawn equipment, tools, and much more. People often spend money on organizational shelving or new workbenches and forget the hardest-working part of the garage—the floor.
A concrete floor can form cracks due to settlement, shrinking, drainage, or poor installation. Over time, that garage floor starts to deteriorate, and the cracks grow to the point it becomes ugly.
Polyurea coatings can turn a damaged garage floor into an attractive, durable, and safer one. If you’re interested in learning more but unsure how the process works, here’s what you need to know about how we prepare the floor.
The Evaluation
After discussing your project with us, there needs to be an evaluation of the floor’s condition. Our team will look for any existing coatings, cracks, deterioration, and more.
The assessment is the first step in the process, as it determines what steps we need to take to prepare the floor for polyurea coatings.
Cleaning the Surface
The next step in the floor preparation process involves thoroughly cleaning the floor. This goes beyond sweeping or vacuuming, although that’s first in the process.
After removing existing dirt, debris, and foreign materials, the floor needs to be washed. Grease and oil stains are removed, and any imperfections are fixed to avoid any negative interferences that might impact the final result.
Here at Garage Force, we have the knowledge and tools necessary to mechanically prepare the surface, which ensures proper adhesion later on.
Repairing Pits and Cracks
The garage is so important to homeowners that houses with one sell for 12% more than those without one. However, seeing a garage floor full of cracks and holes is likely to deter people rather than encourage them to buy.
Thankfully, it’s easy to repair those areas, and it’s a key part of the polyurea process.
We repair any pits or cracks in your concrete floor as part of the coating prep. This ensures a smooth, attractive, and even surface that looks amazing and adds value.
Preparing the Polyurea Coatings
Next, we’ll prepare the polyurea coating for use on your floor. We lay the basecoat first, then place the decorative chips. Afterward, we’ll remove any excess chips and smooth the surface.
At this point, we’ll vacuum the floor and finish by applying the topcoat.
Steps vary slightly depending on which coating system you choose. Our popular full-chip system makes an excellent choice for both homeowners and commercial spaces.
Floor Preparation Is a Crucial Part
Without proper floor preparations, those polyurea coatings wouldn’t adhere properly. That’s why we take extra care to ensure the surface of your floor is clean and ready prior to installing our polyurea floor coating.
Here at Garage Force, we’re passionate about providing you with the highest-quality floors possible. There are many benefits to installing our Polyurea and Polyaspartic coatings, such as the fact they’re 20 times stronger than epoxy!
Contact us today to book an appointment or learn more about our process.

